
Who this is for
Admins setting up specific tax rates.
What you’ll learn
• How to add each tax
• How to choose what it applies to
• How to enable, disable, or archive taxes
Before you start
• Your Tax Group must already exist
• Have your tax rate from your local tax authority
• Know whether the tax applies to labor, parts, misc, or surcharges
Quick Summary (TL;DR)
• Open a Tax Group
• Click Add Tax
• Enter name, description, and rate
• Choose what it applies to
• Save and enable
Step-by-Step
-
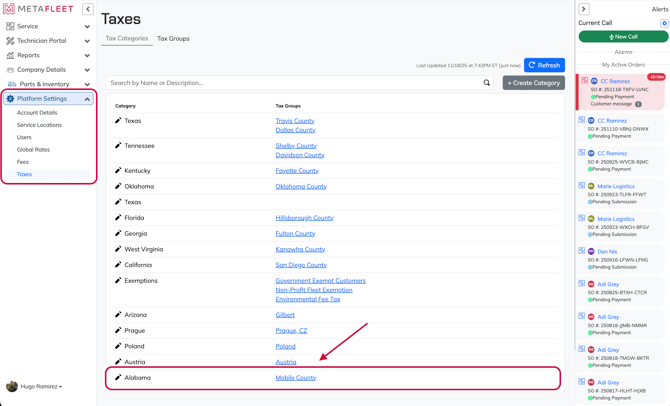
Open Platform Settings → Taxes → then select your Tax Group.
-
Click Create Tax.
-
Enter:
• Tax Name (ex: “State Sales Tax”, “City Sales Tax”, “County District Tax”)
• Description
• Rate — enter the correct percentage from your local tax authority
-
Choose the Tax Type:
• Labor
• Parts
• Miscellaneous
• Surcharge
-
Click Save.
-
Repeat for each tax required by your state/city/county.
Tip: If your reporting requires breaking out taxes separately, create separate tax entries instead of a single combined tax.
Troubleshooting
| Symptom | Cause | Fix | Prevent |
|---|---|---|---|
| Tax not applying | Wrong type selected | Edit tax → correct to labor/parts | Double-check tax type |
| Wrong total | Rate entered incorrectly | Update to correct percentage | Verify source |
| Tax appears twice | Old tax not archived | Archive unused taxes | Clean list regularly |
FAQs
Can I disable a tax instead of deleting it?
Yes. Disable or archive to avoid breaking past invoices.
Do I need separate taxes for labor and parts?
Only if your region taxes them differently.
Where do I enter combined tax rates?
You may enter a single combined tax if your region treats it as one.